Tuesday, July 29, 2014

Start Your Own Herb Garden

Starting an herb garden has been on my mind for years.. But I was going to school, then we had children... so it wasn't until 2 years ago when I finally found couple spots and started planning. By now, I am glad I did and I am here to share with you some pictures as well as small advice about starting your own!


My first herb plant came from my husband's grandma and it was peppermint. I started with a tinny bunch that you see above and look what 2 years did to it ;-) This brings me to the first important point for starting your herb garden - Plan out your space carefully! Read the labels on your plants or ask the person who is giving it to you - how large does the plant get? Plants in the mint family can spread really wide. I suggest you maintain them in the Fall and Spring. I love to share mine with friends or dry them for the winter months.


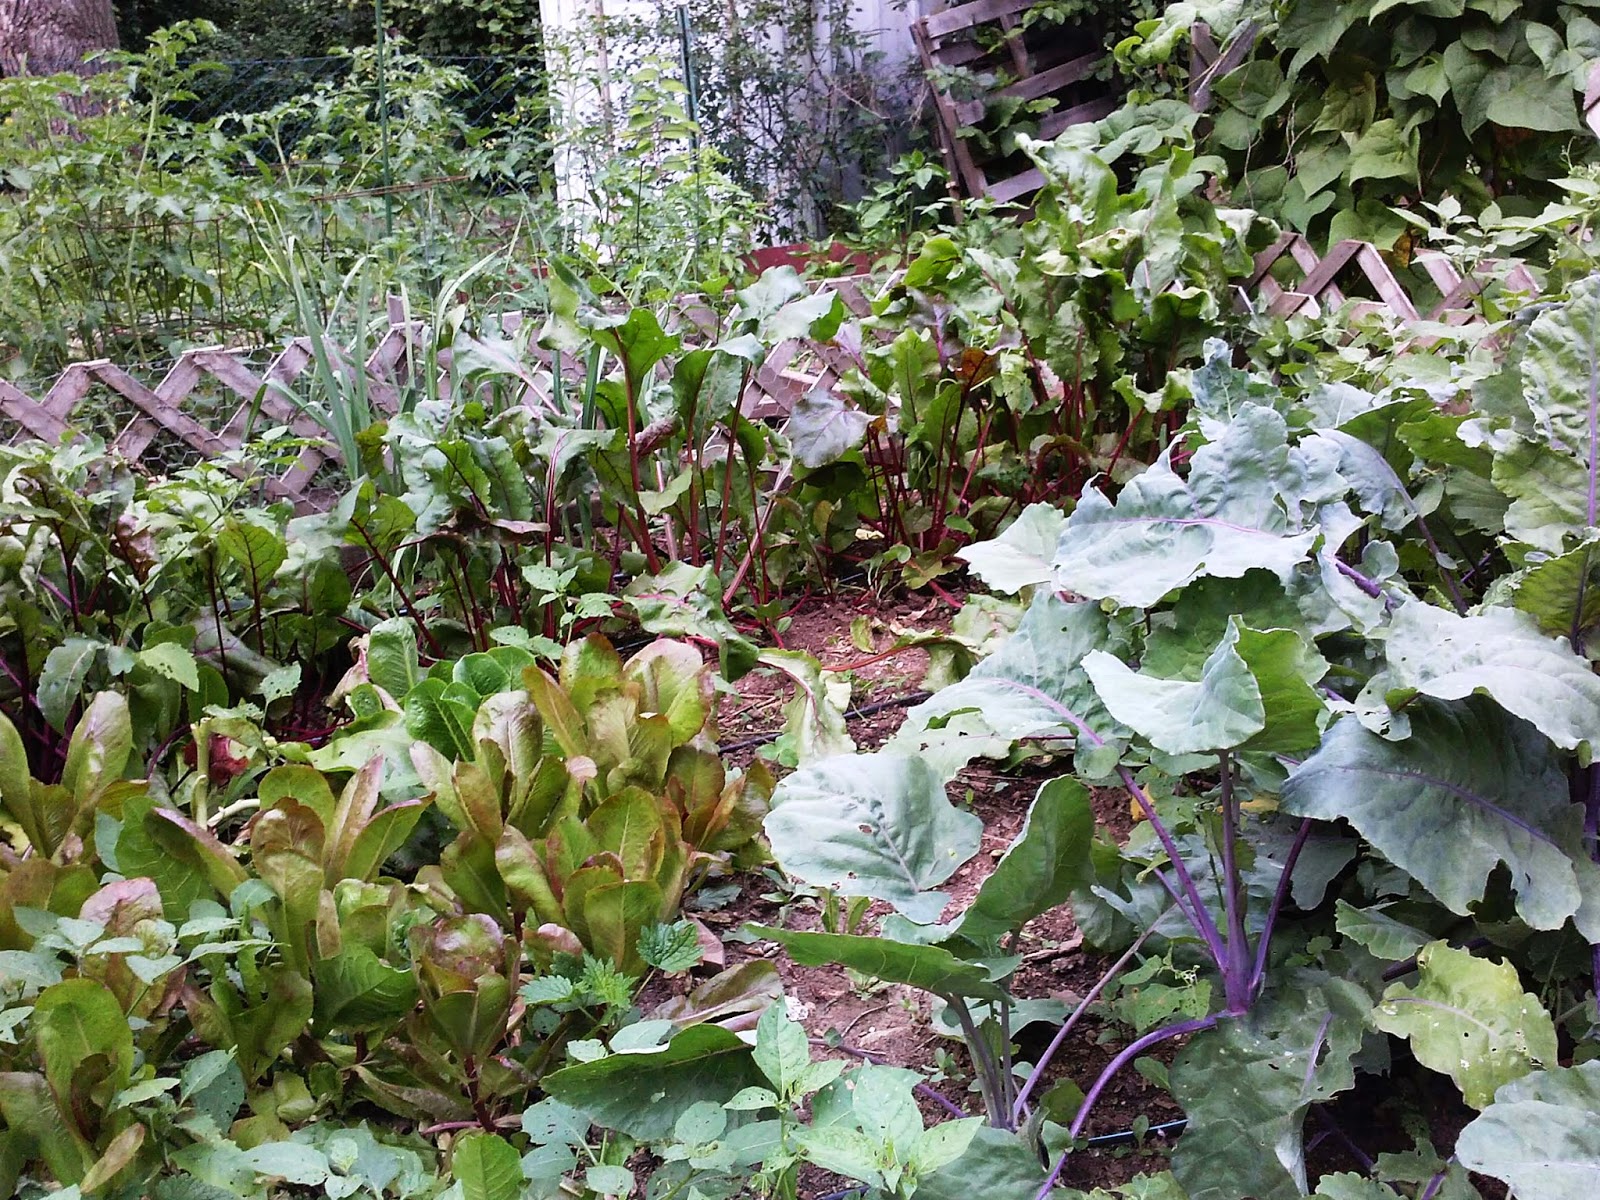
I love fresh oregano in my potato dishes! Here is a small bunch in my garden - Oregano doesn't spread fast but it becomes very bushy. I found that one plant was enough for our family to use as a fresh ingredient during the summer and also have plenty to dry for the winter!


Who doesn't love thyme in a chicken dish? Thyme has tiny leaves and doesn't become very large. I like it right on the front edge of my herb garden! I will be adding few more plants this year. Did you know that thyme is great herb to use when you have cough? We love making tea or just simply dipping fresh stem into our water bottle!


Don't just assume that you need ground space for your herbs! I am sure you heard about potted herb garden... If you live in a palace that only has a porch, a patio, or a balcony, this would be a perfect fit for you! Even though I have a backyard, I still like to break up the space using potted herbs. Like in this picture, I use bright red color pot for all green background. The herb that needs to be in the pot if you want to enjoy it yearly is rosemary. It doesn't like tough midwestern winters so I take it inside for the cold months. But right now it plays a great role in my herb garden bed by the pond. 


Originally I also placed a mint plant into the pot because I knew it was going to spread widely and I had no space for it. I will be replanting it this year into my side garden herb bed.


Take a look at my side house herb garden... As you might notice, my intention here is not only to have useful plants in my yard but also to have a pleasant and unexpected eye catcher ;-) Which brings me to the next advice - Choose your plants carefully. You want to plant herbs that you enjoy using in your dishes or your drinks and you want to combine them so they all compliment each other esthetically. Look out for height, width, and color of your plant. I also like to combine different sizes and shapes of leaves. And why not add a regular plant into your mix, such as decorative grass or a rock to break up the space. One year after you plant your herbs, you might realize that you positioned them wrong and the taller one is in front of the shorter one - no worries, just replant... this is all a case of trial and error and by the second year, all will be good.


And finally choose the right location based on how much sun light your plants require. Most herbs love sun, so make sure they receive at least 5-6 hours of sun light per day. Those that love full sun exposure are: lavender, oregano, thyme, basil, and rosemary (also known as the Mediterranean Herbs) Parsley, lemon balm, and mint plants will be happy in shade.


 Benefits of growing an herb garden in your home

1. Touching soil is good for the soul - that is my number one benefit of having any kind of garden. So dig as much as you can...

2. Fresh herbs are always at hand - and they are priceless for any dish you are creating.

3. It looks beautiful - people love herbs! And people love look at nicely grown bunch of plants!

4. It smells beautiful - When you pass by it truly smells wonderful!

5. You save money - Have you seen the prices of fresh herbs in the grocery store? How about dry spices? That is my point exactly!

6. You get to share it with friends - Last but not least, you get to share your green treasures with your friends!


Friday, July 25, 2014

Apricot Coconut Lemon Balm Popsicles

Even though we have had only few days of intense heat this summer, kids asked for this refreshing  yummy and healthy treat almost everyday! I also love having these on hand almost daily because our house is usually full of neighborhood kids and this is an unexpected and inexpensive treat to share with everyone!

 One of the ingredients is an herb called Lemon Balm... Have you ever heard of the benefits of this plant? According to a Natural News article, lemon balm is a great antioxidant, as well as calming herb, that helps reduce anxiety, promotes sleep, and improves indigestion. (I love the calming part - great for kids when they come home all hyped up from playing outside ;-)


You will need:
3 Apricots (or any kind of tropical fruit such as pineapple, mango, or peach)
1 Banana peeled
1/4 cup of unsweetened coconut flakes
5 tablespoons of Vanilla Yogurt
2 cups of coconut milk
1 teaspoon of honey (or 100% maple syrup)
Leaves from 1 long lemon balm stem

Combine all ingredients in a blender.


When all is nicely blended, pour the mixture into popsicle molds.


Place your tops on and place them carefully into the freezers. 


These will be ready in about 2-3 hours and will last for few weeks... but that is not a really important information because as soon as the kids realize they are in there, they will not last a day! ;-)
Enjoy!

Monday, July 21, 2014

Growing Your Own Back Yard Organic Berry Garden

Happy Monday Everyone! Today I have the honor to introduce to you my lovely friend Jenny from My Happy Homestead! She will be sharing her advice on how to start your very own berry garden in your backyard. Enjoy and get inspired!

photo taken by Jenny Irvine

After years of growing flower gardens in our tiny suburban backyard we eventually decided to covert them into berry gardens. As our family has grown over the years so has my desire to provide organic homegrown food for our family of six. 

Not really knowing what we were doing at first and fumbling through along the way after 7+ years I think, we finally have things down pat. 

Yielding nearly 4-5 freezer gallon size ziplock bags full every summer- I think we have successfully converted our once flower oasis into a mini piece of heaven that provides nutritious food for our family all year long and still looks beautiful. 

From homemade jams to berry crisps the sweet aroma of homegrown fruit is never far away at our homestead. 

Sharing some of my thoughts, experiences, and suggestions today to help get you get started- 

Growing Your Own Back Yard Organic Berry Garden

photo taken by Jenny Irvine
 Strawberries 

- the most plentiful of all. We started with 5 small plants and now we have an entire fence line covered in them. 

The best time to plant a strawberry garden is actually in the fall. When plants are put in the ground in spring they will require de-budding of any new flowers and pinching back of all runners to gain a strong root system and to assure plenty of growth. 

Planting during the fall months eliminates these additional steps - plants will automatically develop strong root systems and achieve rigorous growth throughout the autumn months. 

When choosing a strawberry variety choose June-bearing oppose to 'everbearing' - the yield is virtually the same. 

Strawberries love ground that is rich with organic matter- compost and leaf mold work great. In the fall we add some of our gathered fall leaves and work them into the soil at the beginning of spring. 

Carefully weed to eliminate any weed invasion and pinch off runners from the mother plant as often as necessary. Too many runners will affect your yield. 

In the summer months we cover our berries with a thin netting similar to chicken wire to help keep pests away. The robins love our berries- and although we love our little bird friends - we don't want them eating our food. 

During the winter months we cover them with a thin layer of pine straw to help keep the temperature a bit warmer. 


photo taken by Jenny Irvine

Backyard raspberries 

- come in many colors. - Red, black, purple, and yellow. We only grow the red as their tangy mouth watering taste is truly unbeatable. 

Much like strawberries it is best to plant your rootstock in the fall months. Plant them in a well cultivated area- rich in organic matter. 

You will often see a number of new canes "suckers" coming up from the base of your plant as time goes on. A certain number of these are necessary for plant growth (6-8) per plant. 

In the fall months prune all canes back an inch from the soil. 

Blueberries 

- are the newest addition to our homestead. Most varieties do best when they are 'companion planted' meaning they are planted next to others of their kind. 

Blueberries also require a high level of acidity (4-5ph). If the soil at your homestead is neutral you might consider adding a layer of pine straw and dumping your morning coffee grounds in the garden bed to help maintain a higher level of acidity. 

The upper most 'twig' like portion of the plants should be pruned to help develop root growth and as time progresses maintain its 'bush like' appearance. 

If your still not convinced that replacing your beautiful flowers with the opportunity to harvest your own bounty- then, here are 5 berry facts that might just convince you otherwise. 

5 Benefits of Berries 


photo taken by Jenny Irvine

Berries are high in antioxidants- compounds that may aid in the slowing of cancer development- the darker the berry the higher the level of phytochemicals. 

This goes without saying but that does not mean eating them guarantees warding off all risks of cancer- it simply means they have been found to aid in prevention. 

Blueberries have been shown to improve insulin levels and lower blood pressure levels in pre-diabetic men and women without raising their blood sugar levels. 

Berries have anti-inflammatory properties and high levels of fiber which aid digestive issues. 

Berries are high in vitamin C and K. Strawberries also contain a good amount of calcium, magnesium, phosphorus and potassium.

Berries especially blueberries have been found to positively affect brain function and prevent memory loss. 

What is your favorite kind of berry? Do you currently have them growing in your backyard-if not what's stopping you? 


Jenny Irvine is a homeschool mom raising nearly a handful of food sensitive gluten free kids.
It was out of her frustration-searching for the perfect meal planning system that best could meet her family's dietary needs that she created the Simple Savvy Meal Planning Kit- 20 printable meal planning pages with the average consumer in mind but leaving plenty of room for the allergy sensitive to make the necessary alterations.
With a degree in behavioral science and psychology, a passion for family, and a long standing love hate relationship with food it is out of her love of helping others that she blogs at myhappyhomestead.
It is here, that Jenny shares recipes, diy projects, the ups and downs of raising a healthy, happy, food intolerant, homeschool family. Life can be crazy raising four kids 8 and under but some how she makes it all work. 

For more from Jenny you can go to her Twitter account, her Facebook page, Instagram, and her website My Happy Homestead    


Thursday, July 17, 2014

Guest Post Announcement


Hello everyone!
I am just dropping by here quickly to announce my guest post over at my sweet friend's blog My Happy Homestead. I am sharing a recipe for Lavender Mist and Hair Detangler. You can click here to view the post. And while you are there, show my friend some love by exploring her blog and see some of her very interesting stories and recipes!


Monday, July 14, 2014

Our Garden in July - The Tour

Happy Monday everyone! I though I would give you all a little update on our garden in July! I am very please with most of my crop, so let's take a look!

First up are my newly replanted raspberry bushes! Most of them are doing great and we are even enjoying some of the golden raspberries, which I didn't expect to come up this year! I transplanted most of them last Fall from the far back of my garden (really, what was I thinking? The kids couldn't even get there!) Now they are by the fence right on the side of our house!


This is what's left of my spring garden bed... You can see some lettuce left, the kohlrabi is shaping up but I think some of it will not get big, it seems to be growing tall... I do love my red beets this year! Really big beets and really tasty!


In the back, you can see the tomato garden, which is now starting to fill up nicely. I even got few cherry tomatoes out of that!


Look at those babies!


 Hello bean garden! Great turn out on the green beans and the edemame (soy beans) as always! Those are my favorites every year. And we love them as side dish!!! You see some squash plants in the front.


Here is my cucumber garden. You can see the trellis - you only need trellis in small space so your plants don't get tangled and don't take over your garden!


If you use trellis they will climb nicely and it will be easier for you to collect the crop.


In the front I have some zucchini plants.. only 3 this year as I usually have way too many zucchinis...


This is my least successful bed - peppers and carrots... I just never can get these two right. We will see what happens in the next few weeks... but the basil is looking great...


See I have some small paper plants, some tall, and holes among the carrots... ugh


Look at the garden from the back corner - not a large space but we are making it work.


Some pumpkin...


Rhubarb is also getting stronger this year...


I hope you enjoyed my tour... stick around and see other posts if you have some time - the most favorites are posted in the side bar!


Tuesday, July 08, 2014

Grass Cup Guys project for kids

The season of growing is here and I like to teach my kids about anything that nature has for us to learn. During the next few weeks I would like to show you few projects that will help kids connect with nature and teach them a little something about what surrounds us.

So first meet our handsome cup guys! 


All you need is:

Small see-through cups
grass seeds
soil
hot glue gun
pipe cleaners
googly eyes
pom poms 


First have kids design the face... we used pom poms, googly eyes, and pipe cleaners. You can also print out a face from the web.
Then fill the cup with soil and soak it with water. Sprinkle grass seeds on top (no need to burry them into the soil). Now place it by a light (window will do great) and wait few days (make sure you keep the soil moist at all times). Your kids will have fun watching the "hair" grow and they can even style it if they want... perhaps give the guy a hair cut?


As you see, one of our guys has more successful hair growth than the other ;-) What can you learn from this fun project? You can talk about plants needing sun, air, soil, and water to grow. Also point out that grass regrows after you cut it. If you keep watering the grass it will stay around a for a while. (I think it has been at least a month and they are still going strong)

Sunday, July 06, 2014

Strawberry Rhubarb Pie with Crumb Topping

The first harvest of the garden - strawberries and rhubarb! And how lucky that they both go so well together in many sweet creations. My personal favorite is this pie... 


Instead of double crust, it asks for crumb topping, which allows the flavor of the fruits, that compliment each other, push through. This is very easy recipe that will have you come back over and over...

You will need:

Pie Crust (store bought or homemade recipe)

Filling:

2 cups of rhubarb
2 cups of strawberries
1/3 teaspoon cinnamon
1/4 teaspoon nutmeg
1 cup granulated sugar

Topping:

1 cup of flour
2/3 cups sugar
1/3 cup butter chilled

Preheat oven to 400 degrees and cut your fruit.


First, line the pie dish with the crust dough. Next, mix the dry ingredients for filling.


Add the strawberries and rhubarb and mix them...


Place the mixture into the prepared pie crust...


... and now make the topping. Combine sugar and flour in a bowl and cut in the butter, using two butter knives, until it breaks down into clumps.


I like covering the edge of the pie with aluminum foil to prevent burn during the long bake.


Place the pie into the oven for 45 minutes and then remove the foil and place it back in for 5-10 minutes - depends on your oven so watch it carefully. When your pie bubbles and the edge is golden brown, take the pie out. 


And now just enjoy it!